
Contents
There are a lot of work managing an event, create and sell tickets is one of them. Long gone are the day you have to setup a shop to sell tickets to your fan. Nowadays, you can sell tickets online. Since you are searching for WooCommerce tickets, I can safely assume that you have a WordPress site with WooCommerce installed. Thus, in this post, I’m going to show you how you can setup your WooCommerce store to start selling tickets in less than 5 minutes.
Install plugin to enable WooCommerce Tickets
By default, WooCommerce does not support ticket as a product. Of course you can create a simple product and name it as event tickets but you’ll miss some cool features such as:
- Set a start date and end date for the tickets (Events always have a specific date, aren’t they)
- Create scarcity by increase the price of the tickets as it gets closer to the event date or number of available tickets is getting low.
- Add a location to your event using Google Map
- Disable the tickets after the event expires
- Send an email to the customers who purchased tickets about the events and their purchases
All the above benefits are available in this plugin: YITH Event Tickets. It’s a prerequisite for this tutorial to work.
Create WooCommerce Tickets With YITH plugin
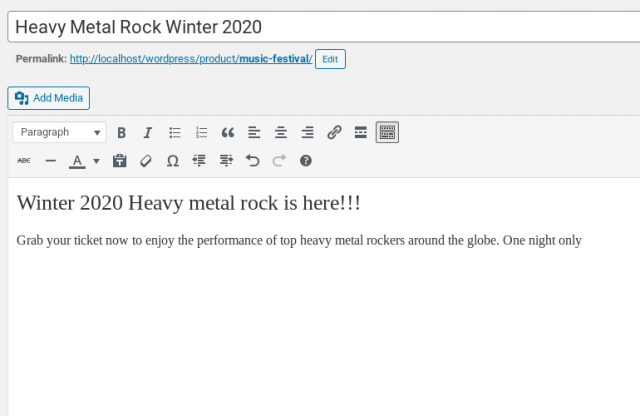
Now I assume that you have the plugin install and activated. Let’s go to Product->Add new to add a new product. Let’s first enter some details about the events and the tickets as you normally do with other WooCommerce products:
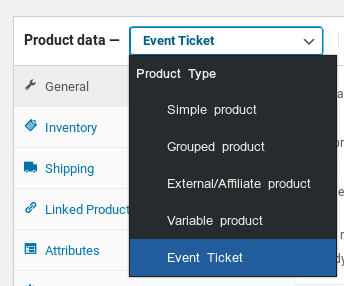
Now, let’s get to the main part. As you might already know that, WooCommerce comes with three default product types: simple, variable, grouped. With the WooCommerce Event ticket plugin installed, you have a new one now.
Let’s go down to the product data section and click on the dropdown right next to it. You’ll see there is a new product type: Event ticket. Let’s select that as we are going to create an event ticket.
Now, you’ll see there are a lot of options for your to build the great ticket in the General tab:
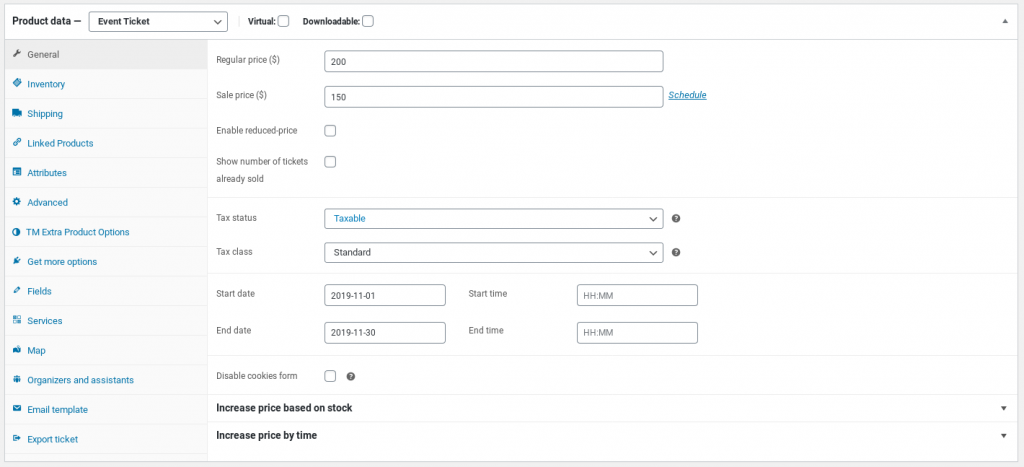
At this tab, you can set the price for the ticket as usual. In addition, there are field to setup start date and end date. Interestingly, you can set tax status and even apply a tax class to the ticket if you want.
You can notice that there are two bold lines at the bottom of the screen:
- increase price based on stock
- Increase price by time
I’ll walk you through these two cool options to help you maximize your tickets sales.
In crease tickets’ price based on stock
Human are driven by a lot of factor and scarcity is one of the biggest. Thus, showing the fan that ticket price will increase as the stock get lower will encourage them to buy soon. To set this up, first you need to enable managing stock. Let’s click on Inventory tab to start adding tickets to your stock.
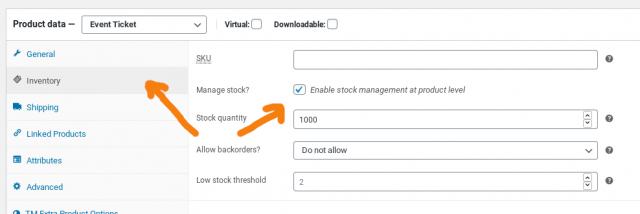
First, you need to check the box says: “Enable stock management…”. Then, you need to set a number of available tickets. Now, go back to the General tab and click on “Increase price based on stock”:

Click on the button “Add price-increase rule” to start configuring your ticket price based on your stock. As you can guess, there isn’t any limit on how many rules you can set. However, I prefer to keep things simple. Thus, here are my rules:
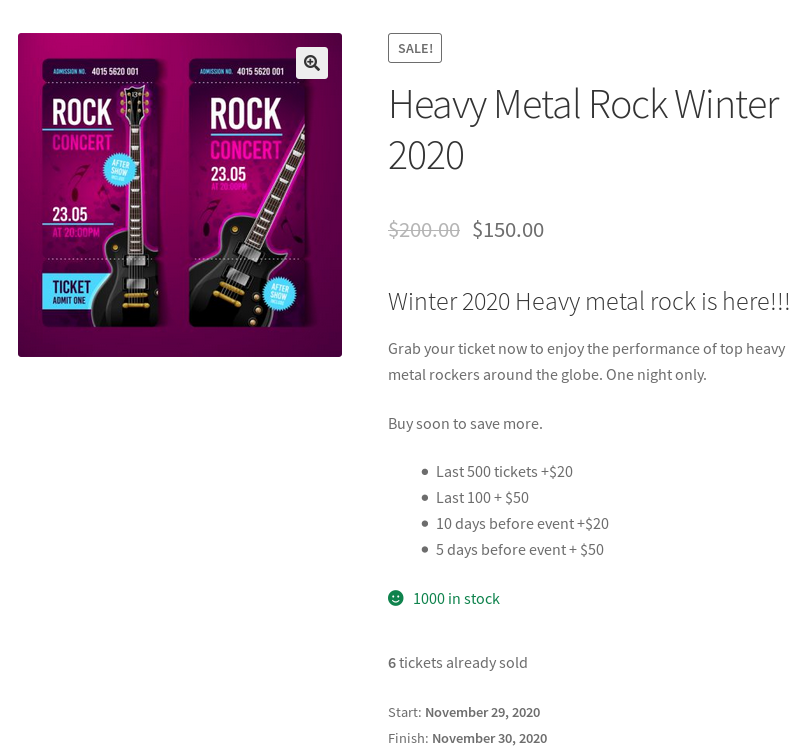
- As the stock get lower than 500, I’ll increase the ticket price by $20
- If stock gets below 100, I increase the ticket price by $50
Here is the configuration:
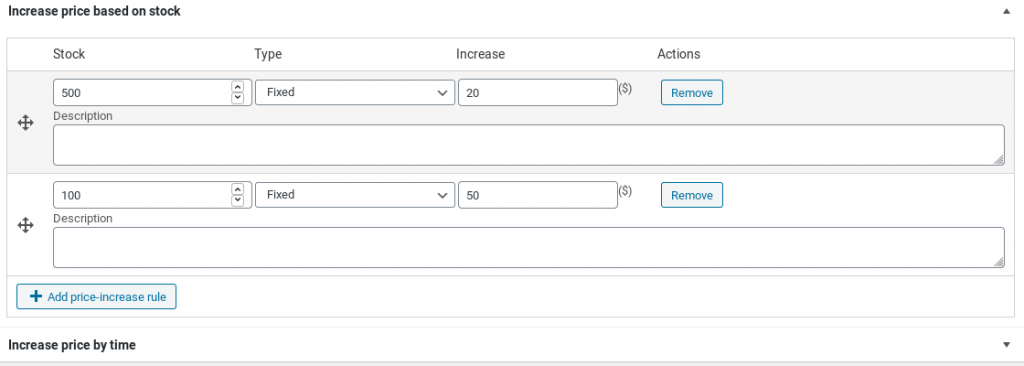
Of course, you can set the increase by percentage, not a fix amount.
Increase ticket price by time
Using time as a factor to encourage people to buy the tickets sooner is a good strategy. If you set the price structure so that it will get higher as we approach the event date, people will buy the tickets sooner.
It’s very easy to setup that structure using this plugin.
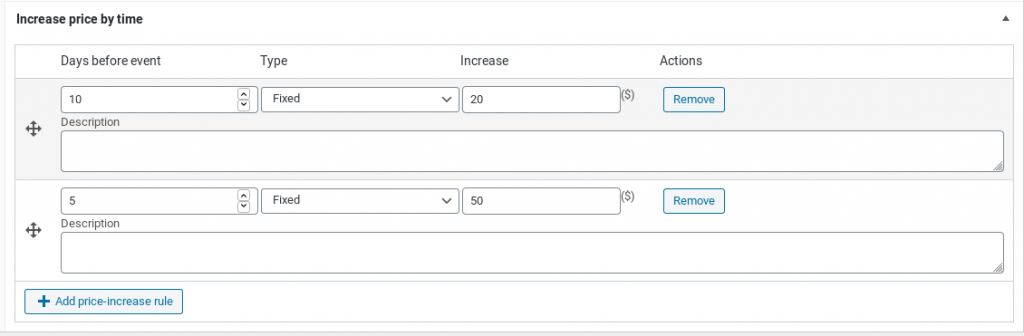
Click on increase price by time:

Similar to increase ticket price by stock, you’ll see there is a button for your to add the rule.
Let’s click on that to start adding the rules. Similar to the stock-based price increase, I setup two rules for time:
Now, save the product. The ticket is ready for the fan.
Adding service for the event-goers
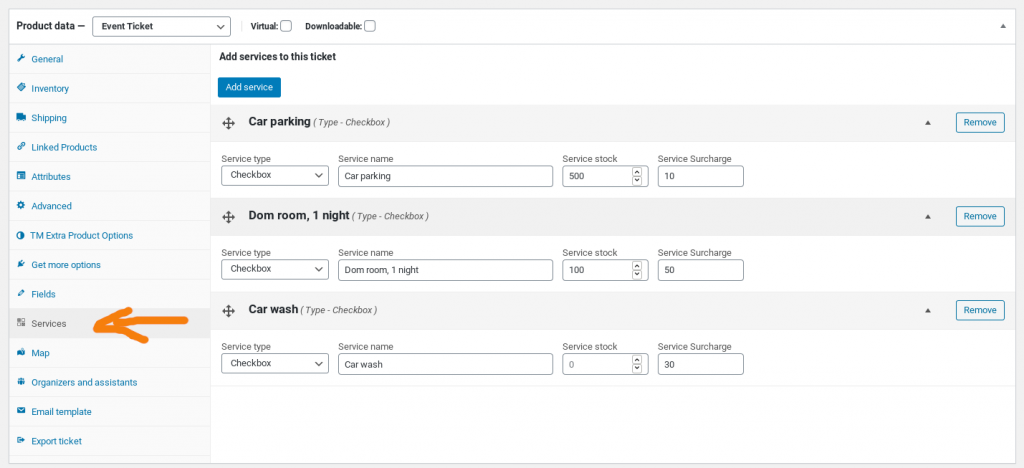
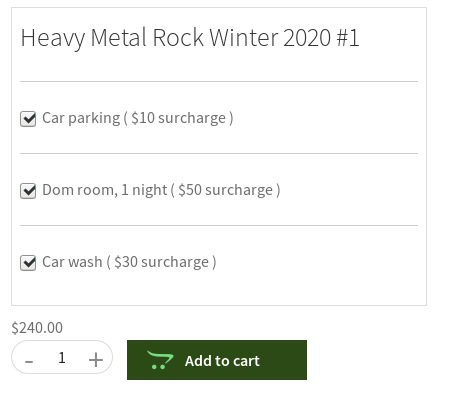
As people go to the event, they may need some extra services such as accommodation, car parking… If you can offer such services, it’s a great chance to earn some more other than tickets sales.
In case you want to add extra services, click on the service tab and start adding your services with their inventory (optional) and price.
Now, on the product page, the fans can select the service that they need and pay along with the ticket. That’s very convenient!
Take customers’ request by adding fields
If you want to get the customers requirements, you can easily do so by adding fields to the tickets product page.
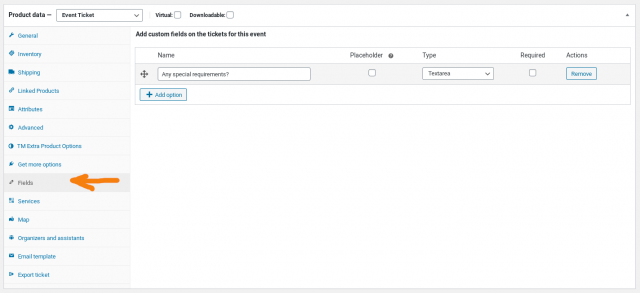
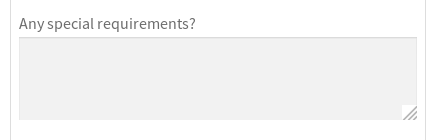
In this example, I added a textarea field so the customers let me know if they have any special requirements. After updating the product, I can see there is a text box appears on the product page:
Conclusion
As you can see, this plugin is quite complete for selling tickets. It lets you create tickets very quickly. In addition, you can even add some extra services to upsell your customers. If it is what you need, you can get it here.
Good luck organizing your events!