Contents
The thank you page (order received page) is the page that your customers see after placing an order. They are not visitors anymore, they are already customers. If you are leaving your thank you page as default, you may miss a chance to make more sales. In this post, I’m going to help you create custom WooCommerce thank you page using page builders that you love (Elementor, SiteOrigin, Beaver, Divi, VisualComposer, WP Lead Plus X…)
There are plugins out there, however, from the ones that I tried, none provide Page Builders integration.
How to create custom WooCommerce thank you page
It turned out, create custom thank you page for all products, for each product or for every product in a particular category isn’t an impossible task. The idea is is to create the content of the thank you page first and then when the product get purchased, the customer will be sent to that thank you page with the details from their recent purchase.
I hope it makes sense to you. Let’s see how to create multiple WooCommerce thank you pages. After this tutorial, you’ll be surprise of how simple it is.
Step 1: Download and install WooCommerce thank you page plugin
This is the easiest step. You can download the WooCommerce thank you page plugin here and install it as normal WordPress plugins. After that, let’s go to step 2.
Step 2: Create WooCommerce thank you page using page builder
Page builders have made the task of creating pages on WordPress an easy task. So, pick your favorite page builder and start creating a page right away. You can name the page however you like. Make sure it makes sense when you show it to your customer after the order confirmed.
I’m going to use Elementor in this case. However, you can use Visual composer or Divi or any tool that you have.
Before we begin, you may ask: How do I enter order-related data to the page, for example:
- List of products
- Billing address
- Shipping address
- Customer name
Don’t worry, the plugin comes with a list of useful shortcodes here that let you fill all the data you want from the order.
Here are some example:
To display:
- Customer’s name, you enter:
[bctk_formatted_billing_full_name]
- Customer’s billing address:
[bctk_formatted_billing_address]
- List of items and price in the order:
[bctk_order_details]
- And so on..
Let me give an example in Elementor. In the builder, I entered the following data in the thank you header:
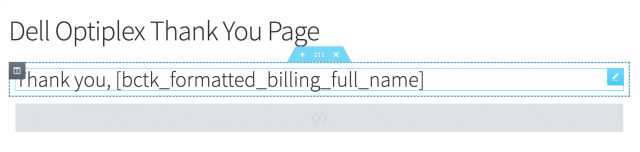
Then, when the customer makes an actual purchase, his name is displayed instead of the shortcode:

It’s cool, isn’t it.
OK, so let me finish the thank you page and assign it to my products. Here is my thank you page:
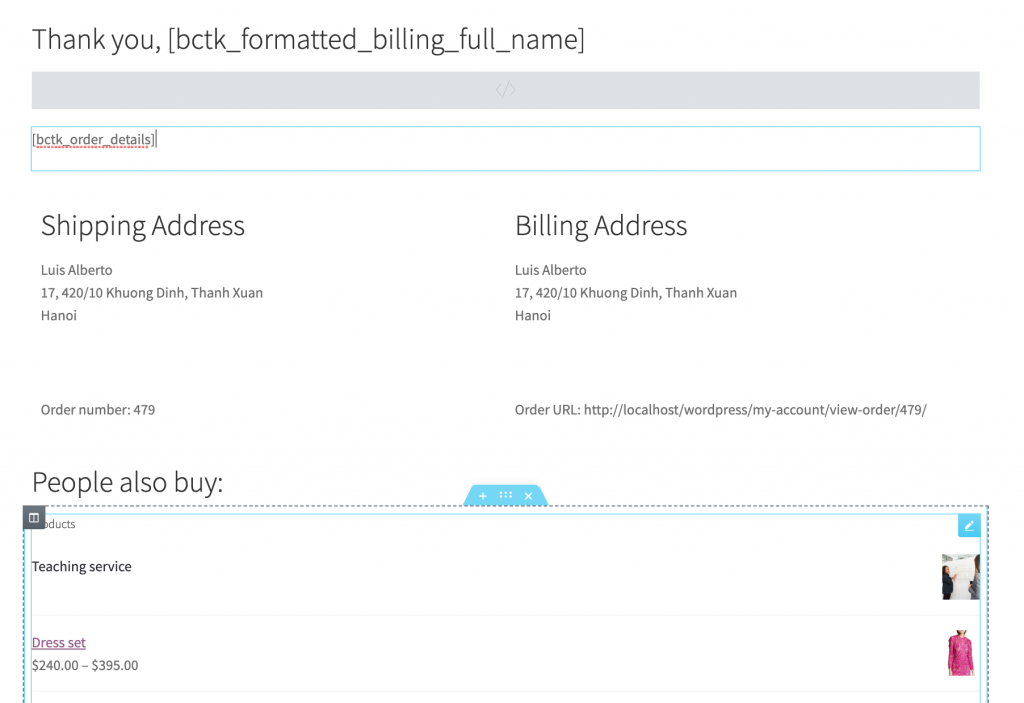
As you can see, the page has some shortcodes entered. The shipping address and billing address sections actually have shortcode but Elementor is smart enough to display the content instead of the shortcodes.
You also see that I have a section called People also buy. You can put extra products here to encourage the customers to make more purchase. Many people has confirmed that this tip alone has increased their revenue up to 40%.
Step 3: Assign the page built by page builder to products
This is the last step. Now, I’m sure you have BC Woo Custom Thank You Pages installed and activated. If you haven’t, do it now.
Go to the plugin’s dashboard by click on Binary Carpenter->Woo Custom Thank You Pages:
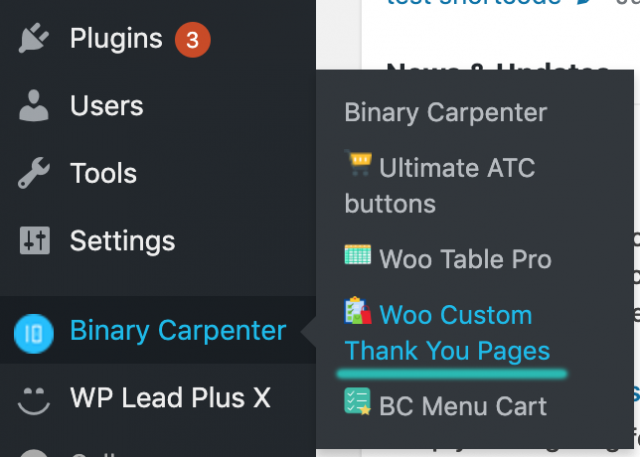
Click on that menu item, you’ll see a very simple dashboard:

There are three separate sections.
- The first section is for you to set a general thank you page for all products. This page will replace the default order-received/thank you page for all products. Leave this blank if you don’t want to set that.
- If you want to set thank you pages by categories, you can go to section 2. Look at the right, there are buttons (+/-). That means you can add more rows to specify different thank you pages for different categories (cool?)
- This is where you set thank you page for single products. Similar to section 2, you have the buttons to add and remove options.
So, you can guess, the third section has the most power then the second and then the first.
That means if you have a product that has a thank you page set for it (in the section 3), then that would be its thank you page.
If the section 3 is not set and the product’s category has a thank you page set in section 2, then the page set in section 2 would be the thank you page.
and so on.
When the order has more than one product, the first product is taken into account to get the thank you page. This is very important.
Now, click on save changes and let’s make a test order.
Step 4. Make a test purchase to test the thank you pages.
I’m going to make a purchase on 2019 Dell Optilex. As you can see, we have set a thank you page for this particular product in section 3. After completing the purchase, I see this:
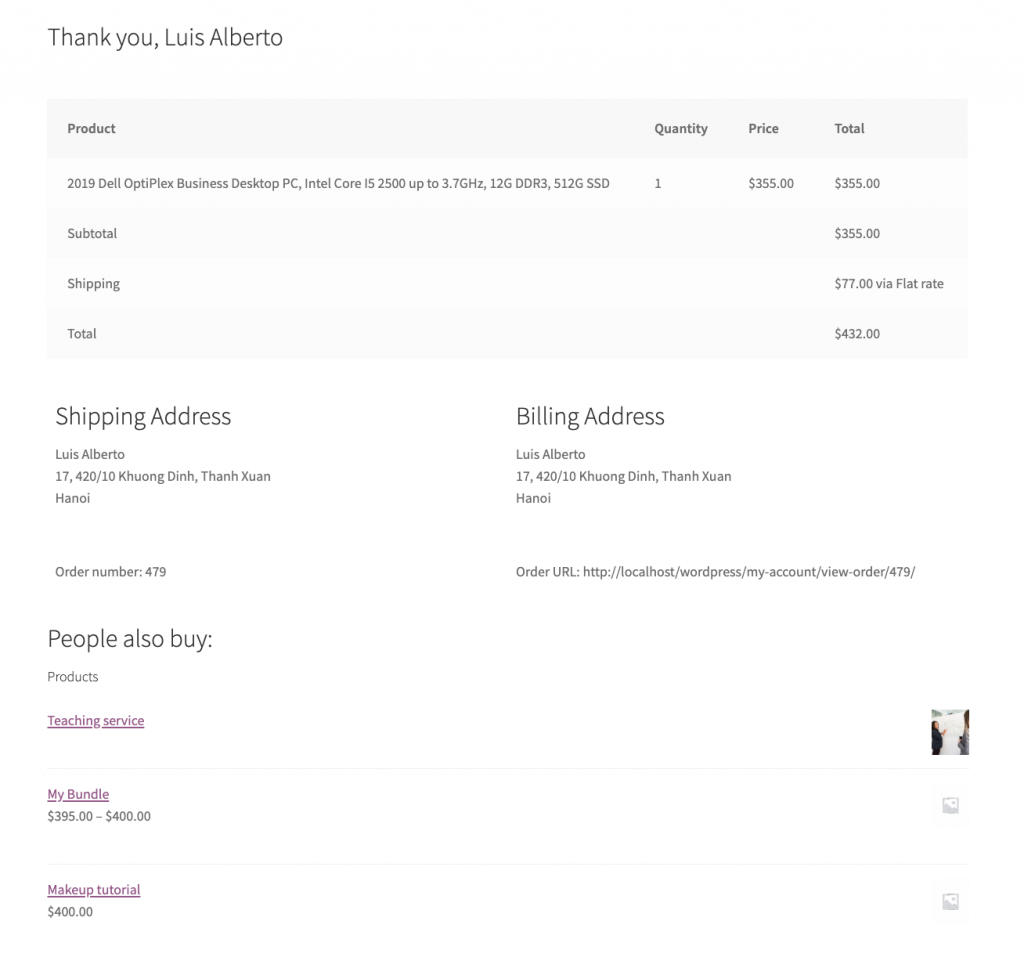
As you might expected, the site now shows the thank you page we created before. That means everything works.
Video tutorial for BC Woo Custom Thank You Page
If you have time, please watch this video that I made to demonstrate the way the plugin works. It’s almost 20 minutes but you can speed up since I spoke quite slowly:


i want to show my full table line iteams, but it is not working, i can not see my order purchase note