
Contents
Want to customize the shop page using page builders such as Elementor, Beaver? Check this guide out.
WooCommerce shop page is like a category page in WordPress, there is no built in tool (like the editor) to customize its look. If you have been trying to customize WooCommerce shop page without any success, you are at the right place. At the end of this post, you will know everything you need to customize your shop page to your liking. Let’s get started.
Here are the steps we are going to do to customize the shop page:
- Create a child theme of your current theme (if you haven’t)
- Create the folder structure for the WooCommerce shop page template in your child theme
- Creating content for your WooCommerce shop page
Create a child theme of your current theme (if you haven’t)
Creating a child theme is necessary to customize woocommerce shop page. Actually, if you want to do any customization to your theme or other plugins (such as WooCommerce), create a child theme. It is the safest way to add functions or change styles in WordPress. Creating a child theme isn’t hard. I’ve made a tutorial here so you can follow easily. It will not take you more than a few minutes to read:
Step by step guide to create child theme in WordPress
Create the folder structure for the WooCommerce shop page template in your child theme
IMPORTANT! Your editing interface might be different to what I’m showing here. However, the files are under yoursite/wp-content/themes/your-theme
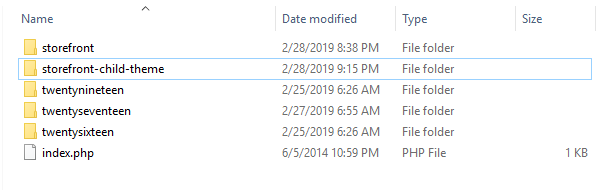
So I assume that you have created the child theme. In this example, I’ll use a child theme that I’ve created for storefront. The theme folder is storefront-child-theme:
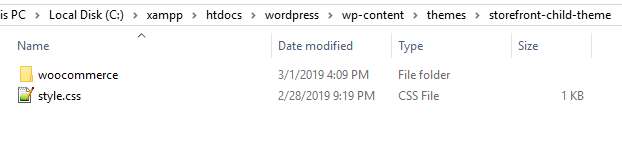
Let’s navigate to the theme folder and create a folder named woocommerce:
Inside that folder, we are going to create a file called archive-product.php
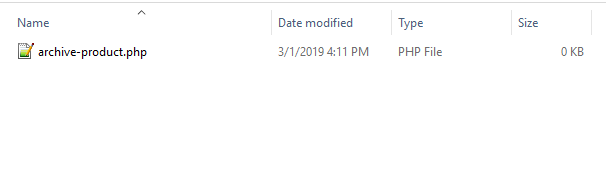
This archive-product.php is the WooCommerce shop page template file.
Now, if you have followed and done all the steps mentioned above (with the child theme activated), when you visit your shop page, you should see a blank page.
Congratulations, you have successfully customized your WooCommerce shop page.
Creating content for your WooCommerce shop page
Now, it is totally up to you to customize the design of the shop page. If I open the file archive-product.php in a text editor and put the following content:
<h1>Hello this is the shop page</h1>Then, if I go back to the shop page, sure enough, I’ll see this:

It doesn’t look really attractive though. If you are confident in your design and HTML skills, you can stop reading here and start working on your shop page. However, if you just need something that has similar layout to your post’s and allows you to control the products that display on it, read on.
Create shop page template from post’s template
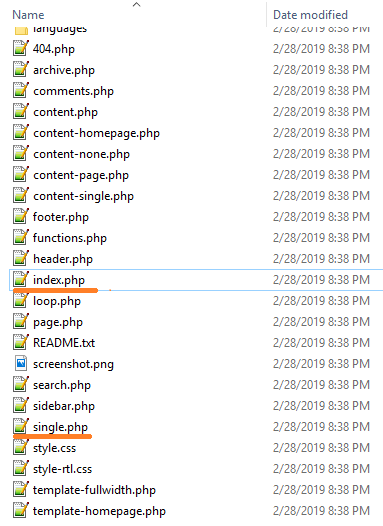
Now, let’s see how quickly you can customize your store shop page using your post’s template. Let’s go to the parent theme of the child theme you’ve created and copy a file named single.php. If that isn’t available, you can copy index.php instead. In my case, I have both single.php and index.php available so I’ll choose single.php.
Let’s go to our child theme folder, paste the file into woocommerce folder:
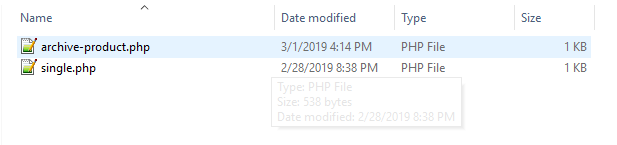
Now, let’s delete the archive-product.php file and rename the single.php file to archive-product.php. Basically, we’ve replaced the archive-product.php file with the post’s template file.
If I go to the shop page now, I’ll see something like this:
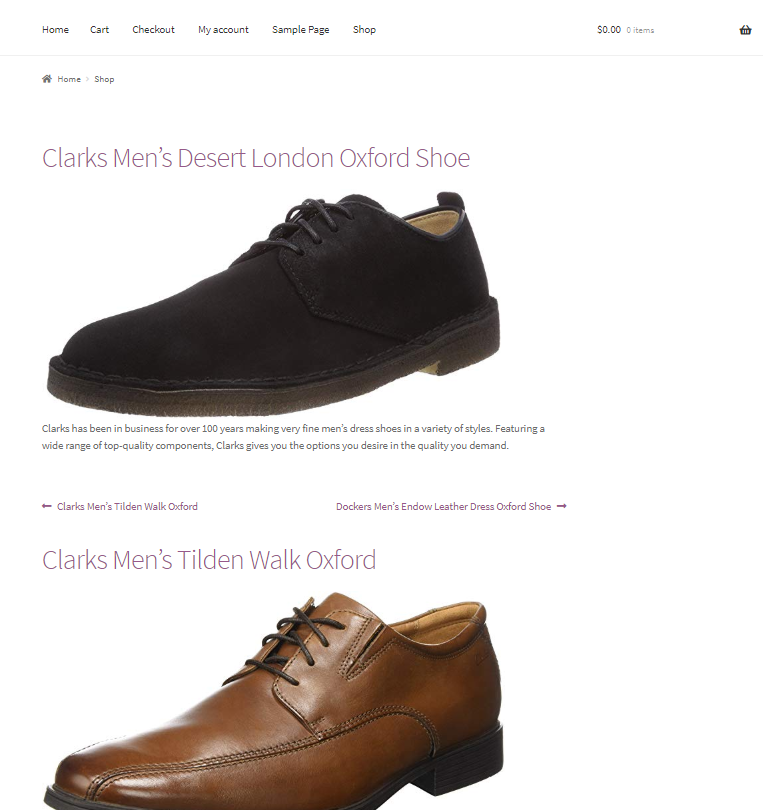
The products are listed basically displayed as posts are.
We are going to use the power of WooCommerce shortcodes to make it looks like a real shop page. You can grab woocommerce shortcodes here to match your need.
So, for example, I want to display products from all categories in 3 columns, 12 products max. The shortcode will be:

But where do you put the shortcode? In the archive-product.php file of course.
Let’s open archive-product.php file (inside your child theme folder/woocommerce). Different theme has different structure. This is mine:
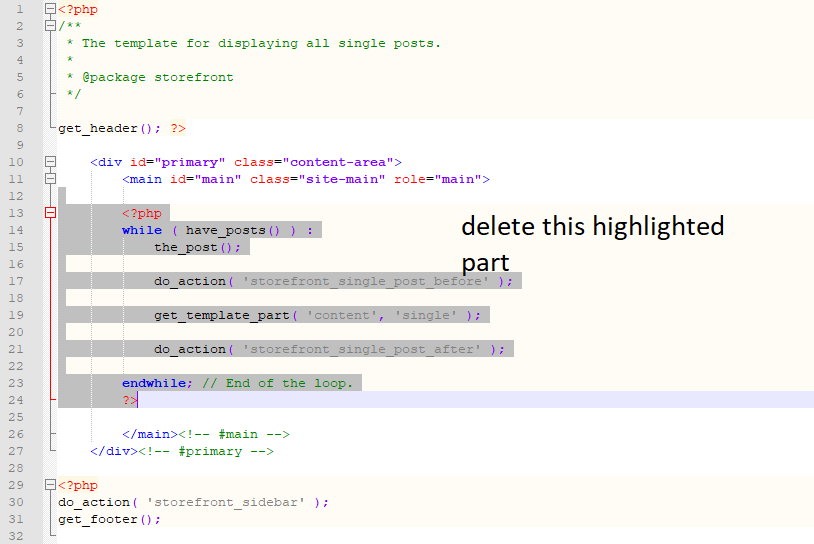
You should delete the part between <main and </main. Then, put the following code right at the position of the code you deleted:

The content of archive-product.php looks like this:
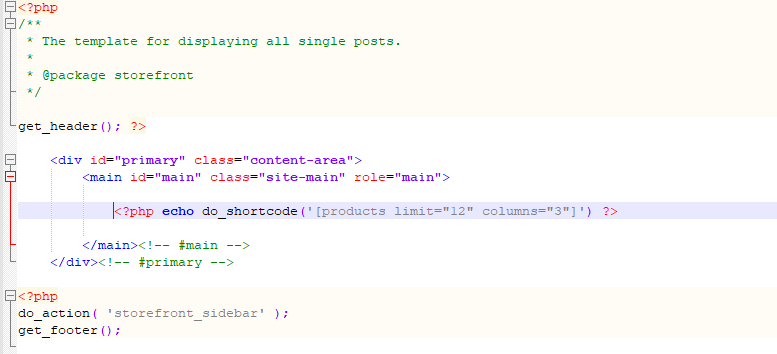
Save the file and go to the shop page, here is what I got:
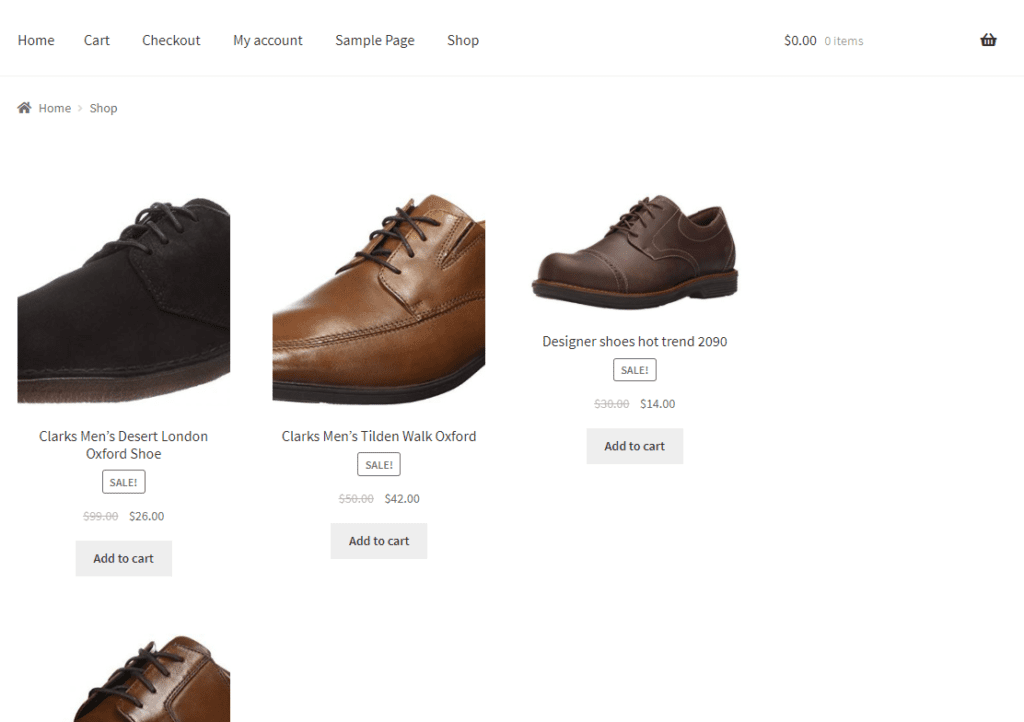
You can see, it looks a lot like a shop page now. If you know HTML, you can add additional code in to make the page more lively. In my experience, I just need to play with shortcodes to accomplish my desired design.
Conclusion
That’s it! That’s how you customize WooCommerce shop page. As always, I hope you find the tutorial helpful. Don’t hesitate to ask if you have questions.


Thanks so much.
how to add category name&link in product box loop on shop page? ty
It depends on where do you want to add the info. Different places need different hooks.
it works!!!
Awesome 🙂
when i visit my shop page, i can’t see a blank page.
please help!
probably you missed something. Did you located the file correctly?
Is there a way to do this while using the colibri page builder theme?
May be this is working on Most of time but in my situation it was not working So I added “add_theme_support(‘woocommerce’);” in functions.php file and it get worked, hope this may help someone.
Hello,
thank you for the information.
I’ve made the changes and after that was not able to customize the columns with the theme customizer. And in case of 16 products at all, but selected 4 products per page, there are no pages to go forward and see the rest of the products.
Where is the mistake?
Reagrds