Contents
In case you prefer to watch a video, I’ve made one here. It’s about 6 minutes long so you can get all the details quickly:
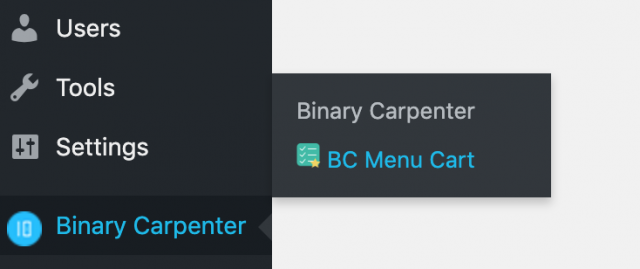
The purpose of BC Menu Bar Cart Icon
The sole purpose of this plugin is to help you: WooCommerce users to add a cart icon to the menu or any other locations (with the help of shortcode). When your customers see that icon, they will know
- How many items are in their carts
- How much is in their cart
In the pro version, when they hover or click on the cart icon (you can define the action), they’ll see the list of items and their quantity.
Sounds good? Let’s find out how to create one icon like that.
Here are the steps to create and icon and stick it to your menu
- Create a menu (if you don’t know how, click here for the step by step tutorial to create a menu and set its location in WordPress)
- Go to BC Menu Bar Cart and create a design.
- Link the design to the menu.
I’ll skip step 1 since I’ve covered it in a different post. Let’s create a design in BC menu bar cart and link it to the menu.
How to create a design in BC Menu Bar Cart Icon plugin
First go to the bc menu cart dashboard by click on its menu item here:
You’ll see the interface like so:
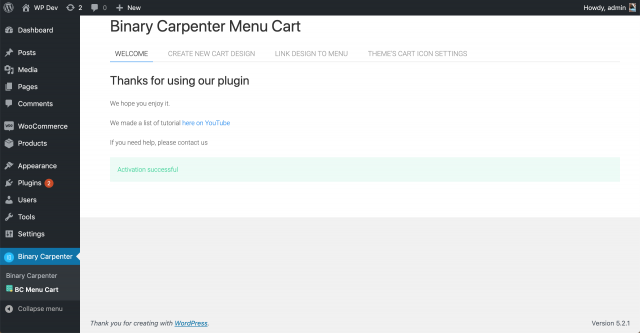
If you use the free version, you will not see the green notification since I’m using the pro version.
Click on Create new cart design tab to start creating the design:
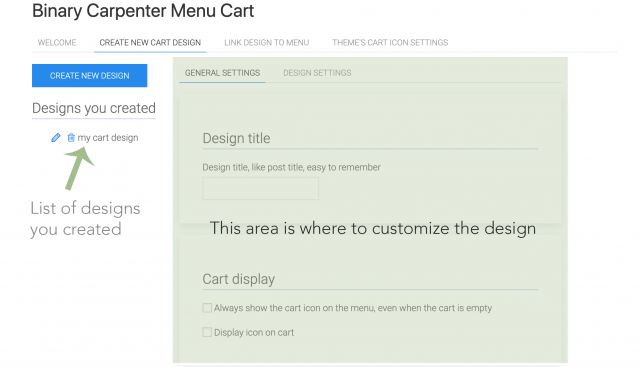
On the left is the place where all the design you created reside. On the right are the options you can set to the designs. If this is the first time you go to this page, you’ll probably see to item under “Designs you created”. That’s OK. Now, let’s click on Create new design button (Blue button).
I’ll go through every sections and explain every options for you to create the design.
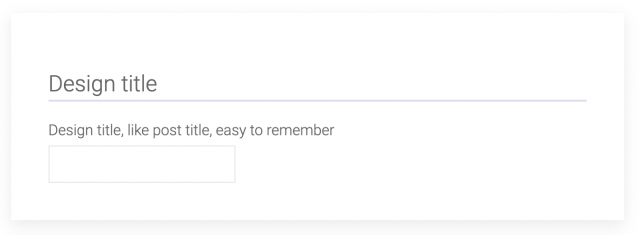
This is where you put the title for the design. You can put anything here. It’ll appear under “Designs you created” section.
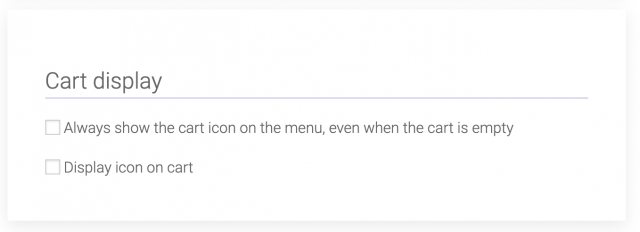
The first checkbox, if checked will show the cart icon all the times, even when the cart is empty. If this is your desired behavior, then check this box.
The second checkbox is to display the cart icon. As you’ll see in the next section, there are layouts that contain cart icon. You can decide to hide or show it here. Check the checkbox if you want to show the cart icon.
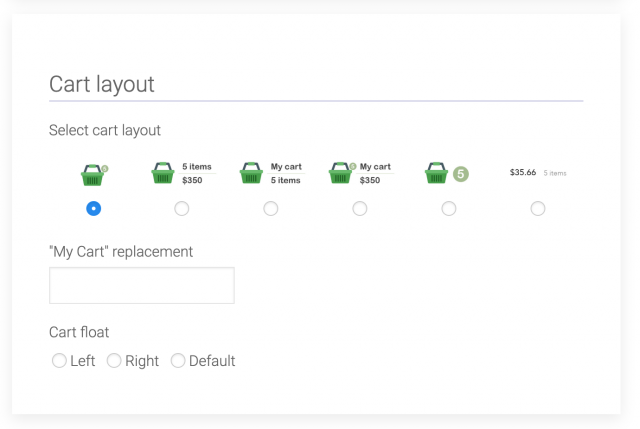
Select cart layout: Here you have 6 layouts to choose from. Select the one that you think it’s the best match for your site. If there are layouts that isn’t in this list, please let me know and I’ll add it for you.
“My Cart” replacement is where you can put the text to display instead of “My Cart” as you see in the layout 3 and 4.
Cart float: As the cart display in the menu, it is another list item as other menu items. You can set it to float left or right.
Now, let’s click on the design settings tab to customize the cart icon further:
![]()
![]()
Here, you can customize the cart icon further:
Cart icon type: In pro version, you can either choose a icon font or an image to be the cart icon. However, in free version, you are locked to the font icon.
Select icon for your cart: Here, you can select the icon you want to display. If you select image as cart icon in the section above, make sure to select your image by clicking on the select button.
Icon width, Icon height, Icon font size: The names of those fields are quite self-explanatory. If you use icon font, make sure to set Icon font size to adjust the size of the icon to your liking.
Cart icon color: If you use icon font, you can set the color of the cart icon here. It’s a feature of the pro version though.
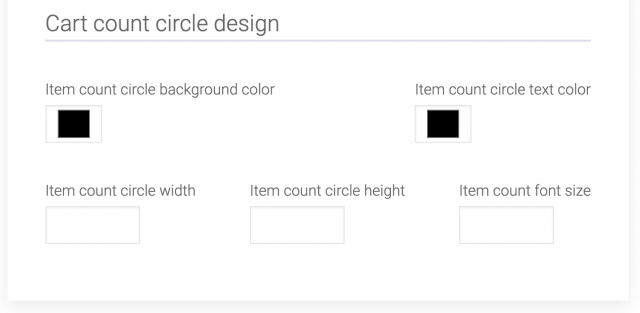
If you choose the cart layout 1 and 5, you’ll see there is a small circle that shows the number of items in cart. Here is the section you can customize that circle.
Item count circle background color: Background color of the circle
Item count circle text color: Text color of the number
Item count circle width, height, font size: These are for the width, height and the font size of the circle count
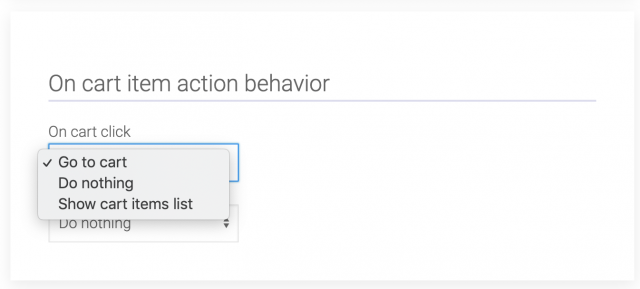
This section lets you define the behavior of the cart icon when your customers click or hover over it.
There are three actions:
- Go to cart: browser will open the cart page
- Do nothing
- Show cart items list: Show the list of items in cart
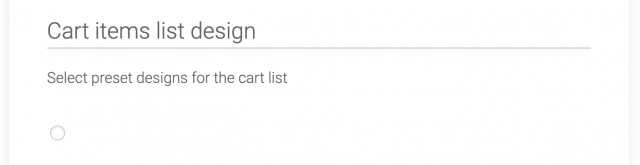
Here you can select various designs for the item list (the cart list that appears when visitors hover or click on the cart icon). Currently, there is only one design so it’s selected by default.
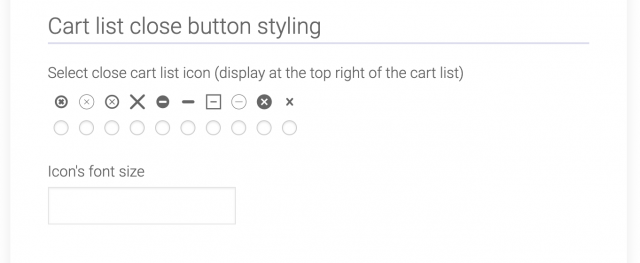
The cart list has a close button for customer to close it. Here it is:
This section lets you select various close buttons and its font size.

This section helps you specify the display of product image in the cart list. You can select to show and hide the images and their width and height here.
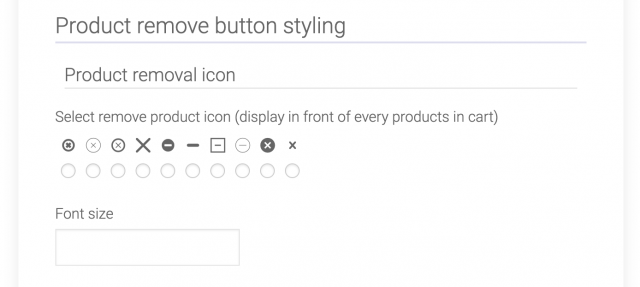
This section is similar to the above section about the cart list close button. Before each product in the cart list, there is a close button. This is the section you can work to customize that button.
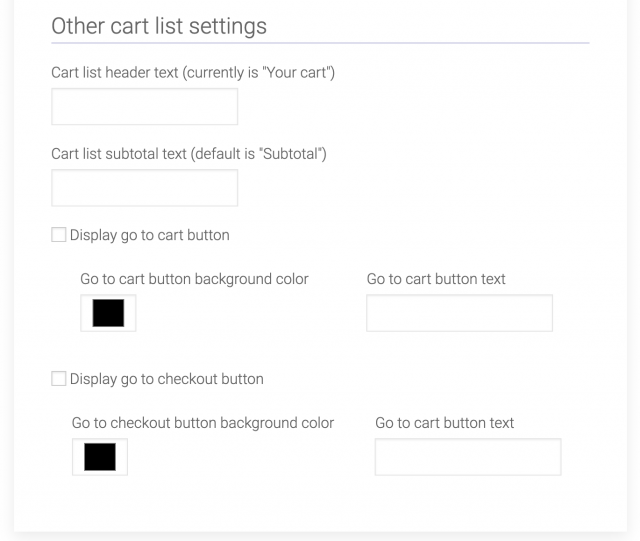
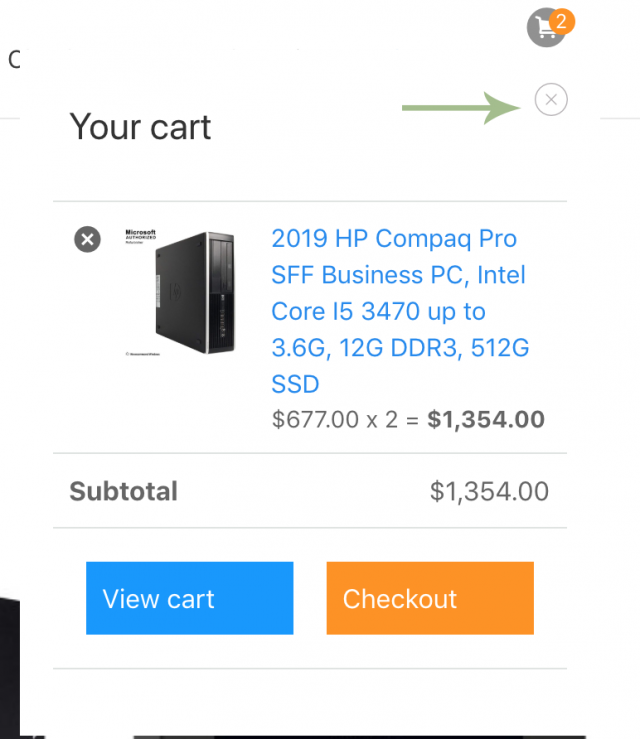
This section is where you can customize the display of the cart list further (the list that appears when you hover the cursor over the cart icon).
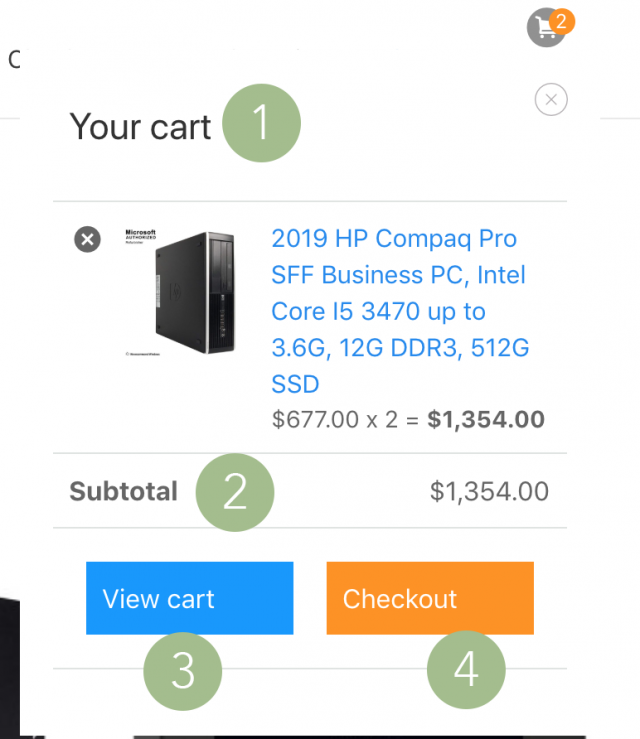
Cart list header text: Type the text you want to display instead of “Your cart” in position 1 here
Cart list subtotal text: What do you want to use instead of “Subtotal” in position 2, put it here
Go to cart button: Customize the button at position 3
Go to checkout button: Customize the button at position 4
Conclusion
I hope the tutorial has been helpful. Hopefully you can start using the plugin now. If you have questions, please let me know.